I’ve taken a bit of interest in woodworking in the last year or so. I’m not really sure why. Maybe working on a keyboard makes me romanticize the idea of working with my hands. Maybe it’s just the next natural progression of being a dad. Maybe it’s the algorithmic black hole of woodworking projects I seem to have fallen into. Likely a little of all three. Whatever the reason though, it felt like it was time to build something.
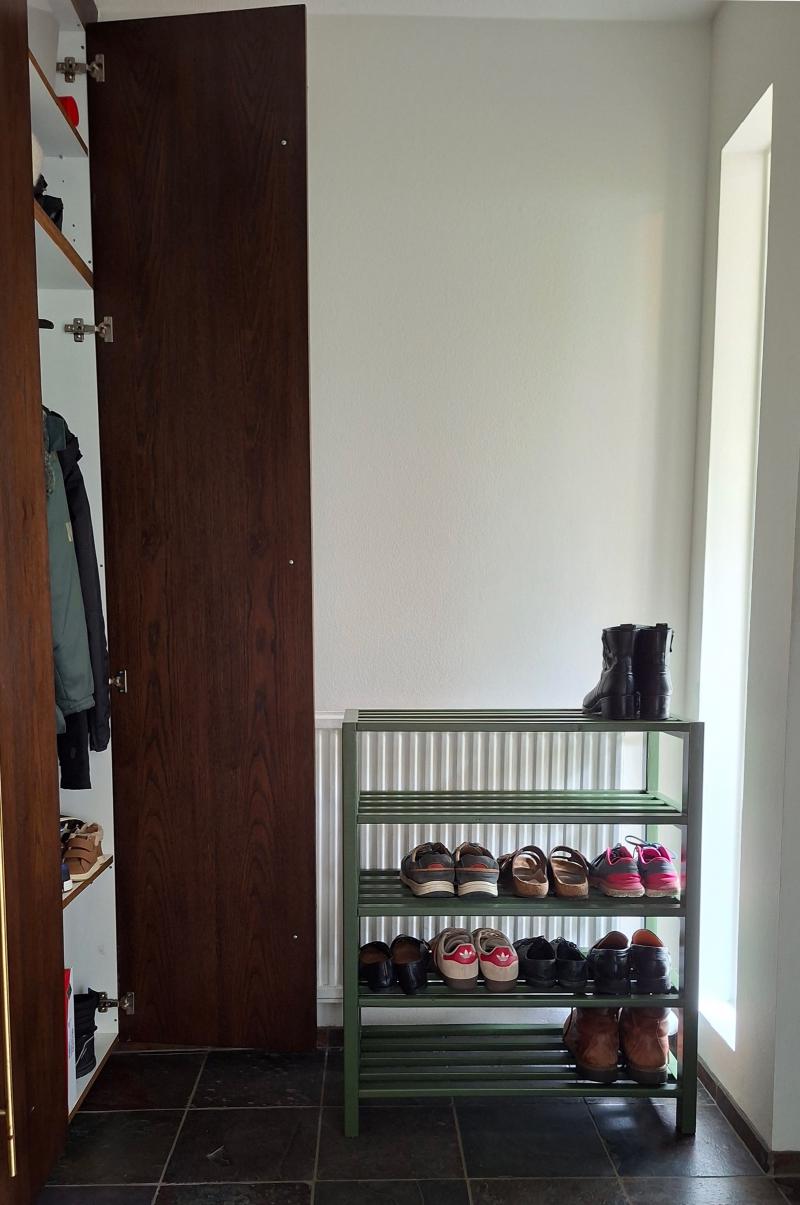
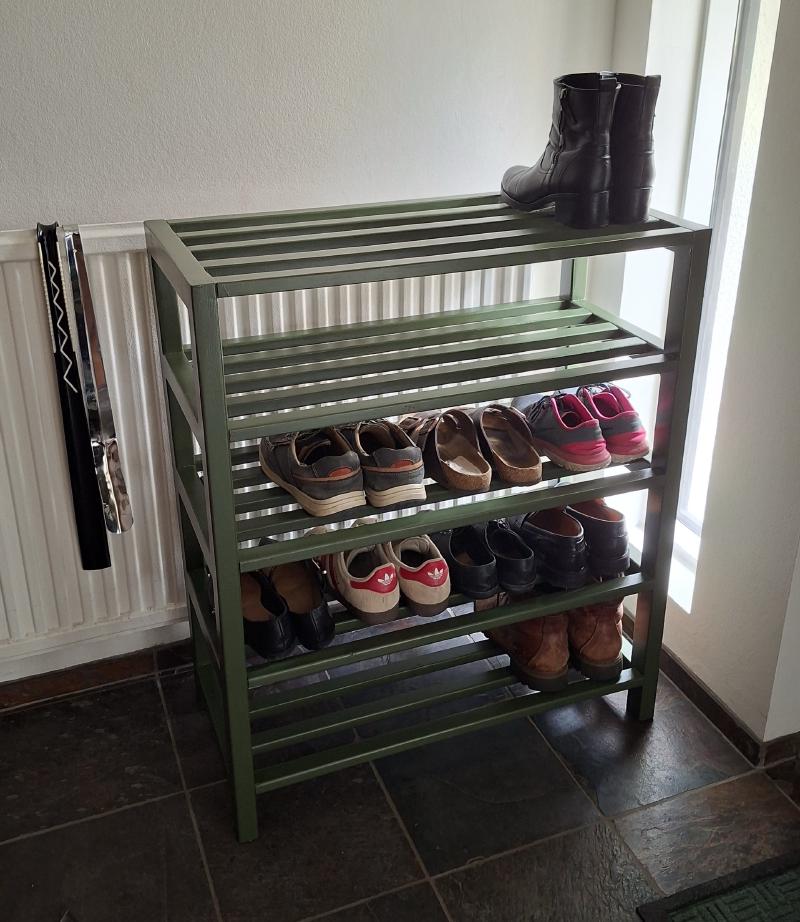
There is a space in my house that is perfect for a shoe rack, but I could not find one on the market that fit into the space and still allowed me to open the adjacent closet. If that’s not an excuse to build a shoe rack I’m not sure what is! Like any DIY post, let’s start with a picture of the final product:
The Design#
The space I had in mind for the shoe rack gave me ~80cm of clearance where I could place the shoe rack and still open the door on the nearby closet. I wanted a good amount of space for shoes so I decided on five shelves. There was a fuzzy image in my mind of what I wanted to build. I tried sketching it out on paper but ultimately decided to mock something up in Tinkercad to get a clearer idea of what the final product would really look like. I came up with two variants.
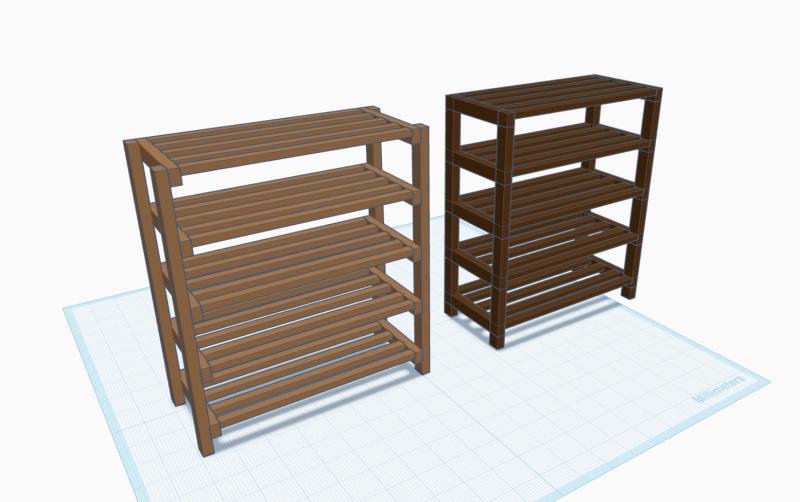
The design on the left is obviously much easier to construct: one could assemble each shelf individually and then affix the legs to it. The design on the right would mean finding a way to glue up 25 slats to the sides all at the same time. Still, I liked the design on the right better, and I convinced myself I would enjoy the challenge.
The plan was conceptually simple:
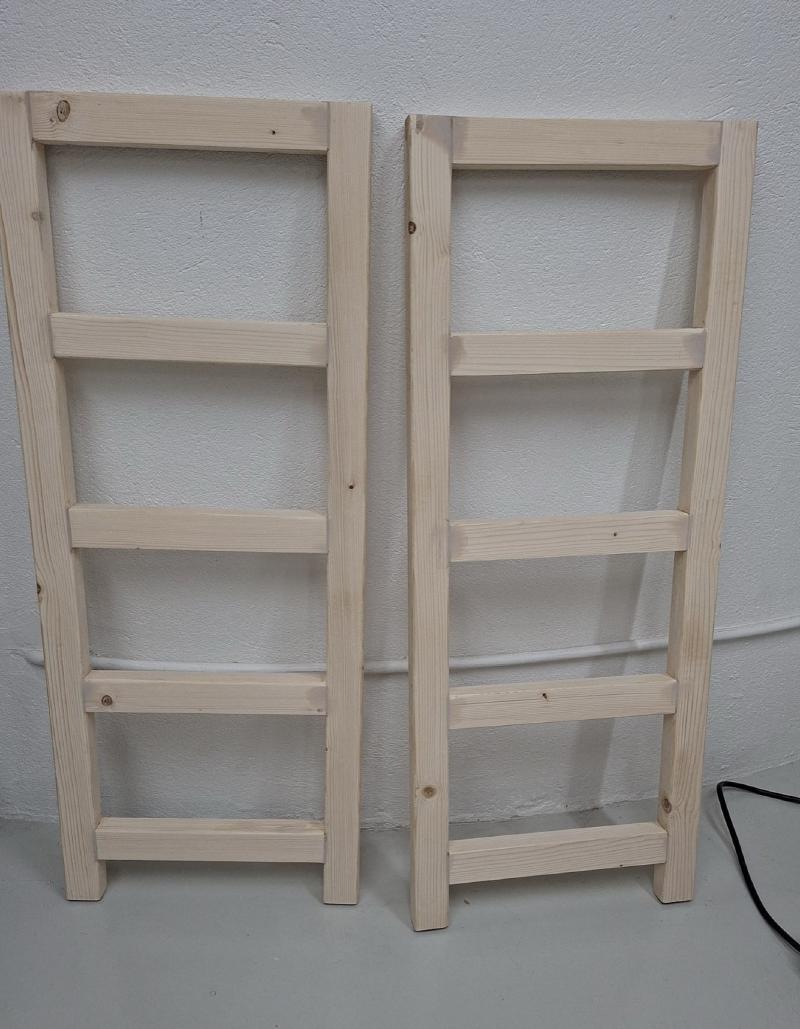
- Construct two identical sides.
- Cut 25 slats to length.
- Drill two holes in the ends of each slat for dowels.
- Drill the corresponding 50 holes on each side of the shoe rack in exactly the right places.
- Apply glue and clamps.
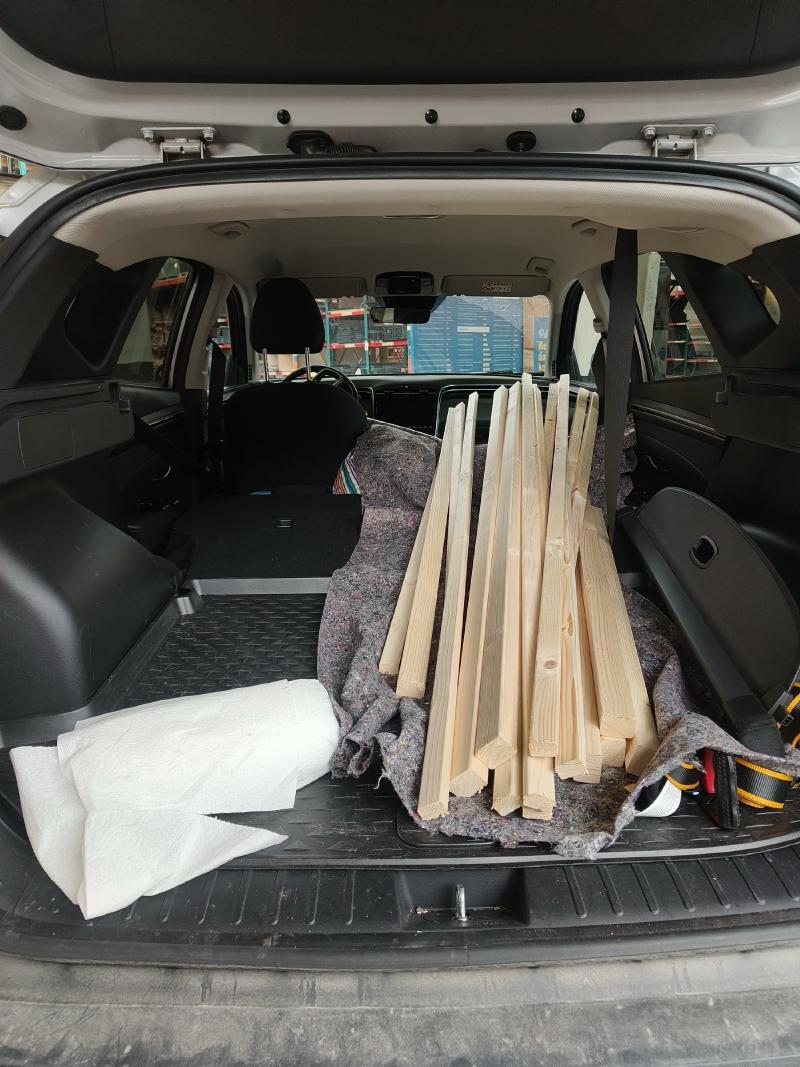
The actual execution was a bit painful both because of the chosen design, and because this was my first rodeo. There were a number of lessons I didn’t realize I was going to need to learn, which I’ll now get to impart on you, dear reader. I did have enough foresight though to know that I was likely going to make lots of mistakes, so instead of trying to source any fancy wood for this project, I took a trip to the local hardware store and bought some pre-planed construction lumber in roughly the dimensions I needed. The exact dimensions weren’t super important, I’d just adjust the design to compensate for them.
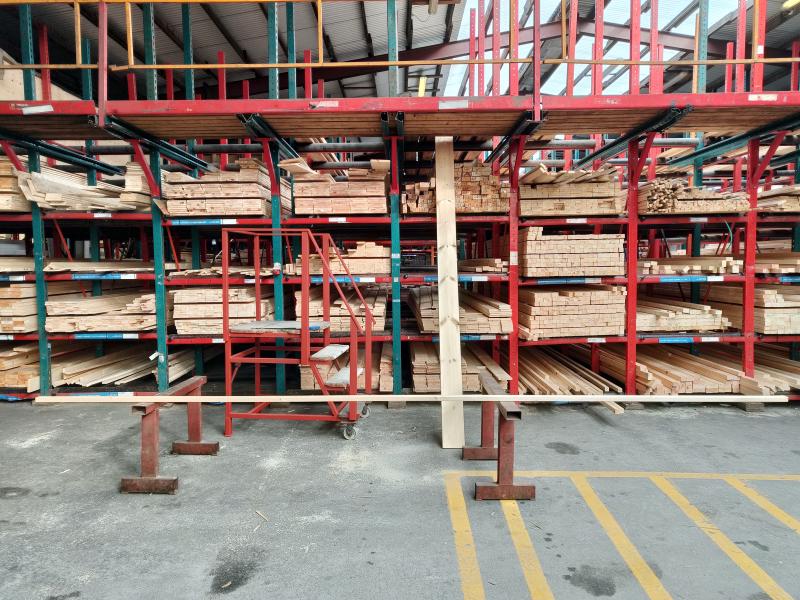
If memory serves me right I bought about 21 metres of 2x3cm, and 12 metres of 3x4cm. It worked out to ~12.000ISK (100USD). Things in Iceland are in general quite expensive, and building materials are no different. I had already spent as much on materials as a finished product from the local Ikea (though one from them would be a bit smaller).
The Build#
Some weekends later when it was nice and sunny I pulled my mitre saw outside to start the cuts. I had bought the saw over the winter during some sale and was excited to finally put it to work.
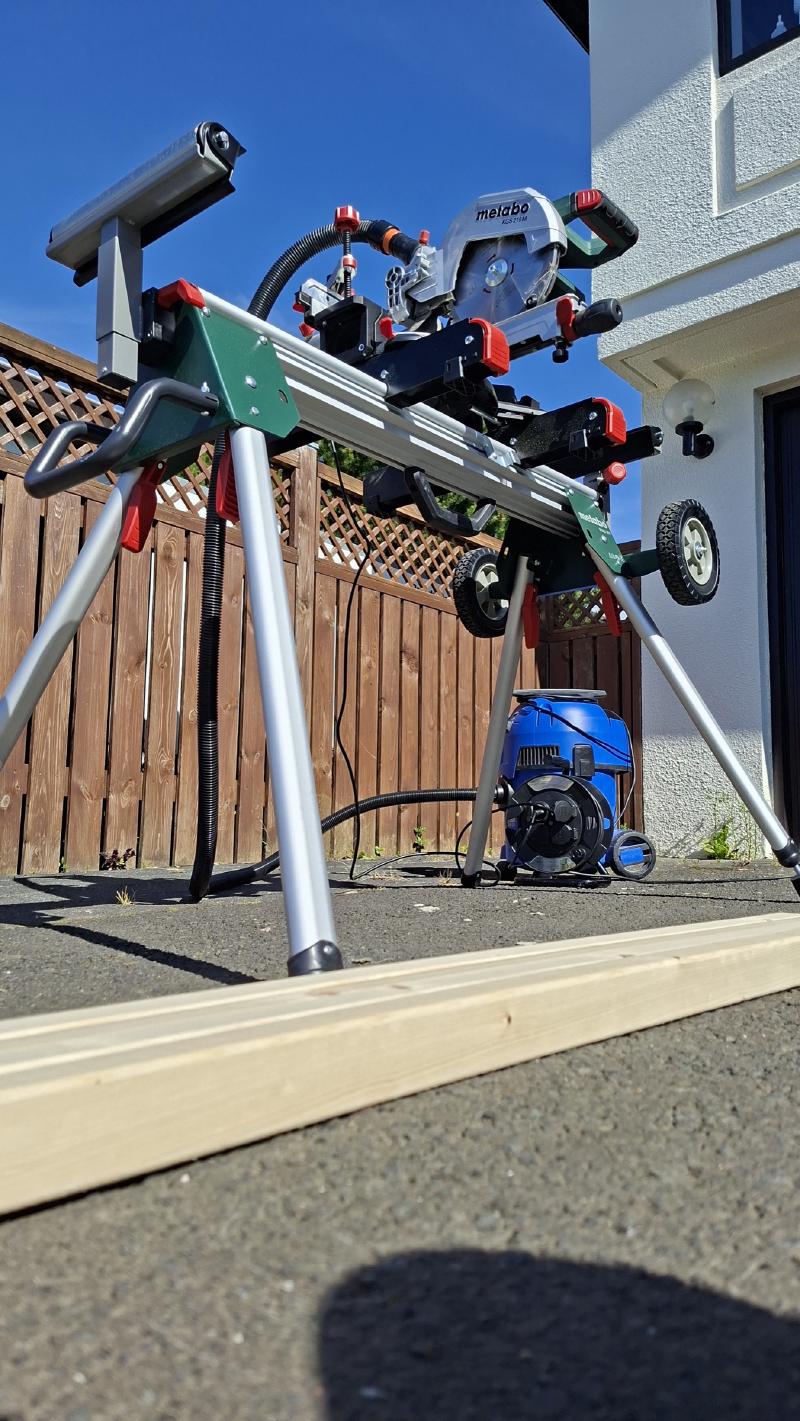
This is where I learned one of the first lessons: using your measuring tape to produce two identical cuts is damn near impossible. The right way to get the exact same length is to use some sort of stop to butt the board up against. In my case I extended the left arm on my saw stand to be the exact length I needed and raised it just enough so it could act as the stop. I followed this process to make all of the 25 slats, the 4 legs, and the 10 pieces that sit in between the legs.
Next it was time to drill the holes required to assemble the sides of the shoe rack. I would drill two dowel holes into the end of each of the 10 smaller side pieces, and 10 holes into each leg. Then I’d apply glue, dowels, and clamps.
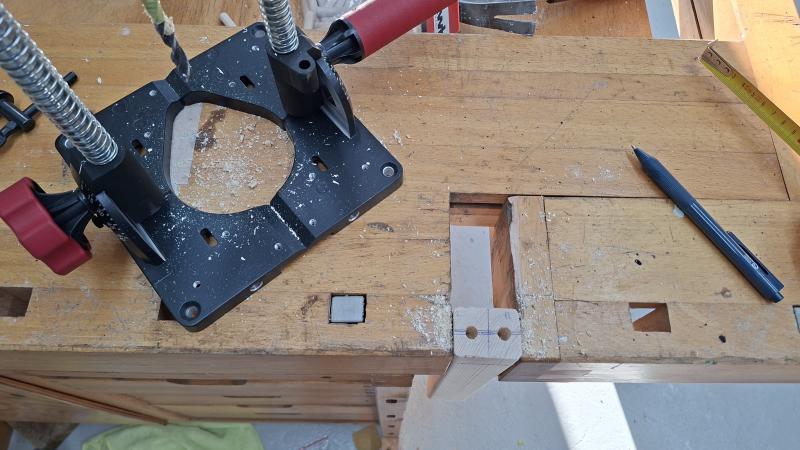
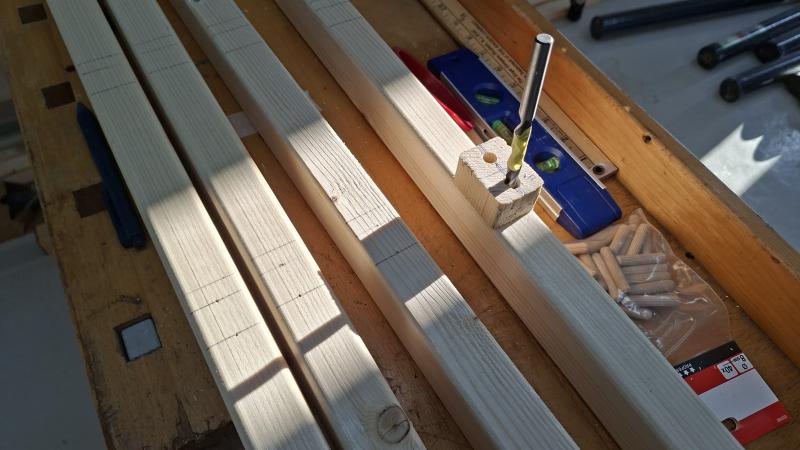
Drilling these holes I immediately learned some new lessons:
- No two pieces of timber you’ll pull off the shelf are exactly the same. Sure, I got them to the same length, but they were all slightly twisted or cupped in their own unique way.
- Finding the exact centre with a measuring tape is usually a fool’s errand. It will often be the case that half of whatever you’re measuring isn’t a round number, so you’ll always be doing a bit of guesswork. You’re much better off with some basic jig.
- Finding the exact centre isn’t always necessary. Consider the holes I am drilling in the pictures above. It is not really so important that the holes were in the centre of the boards, what is important is that the holes have the exact same offset from some other face. The dowels would have still done their job even if slightly off centre, but if they don’t have the same offset, you won’t get a flat surface where the two boards meet (which is what happened to me, but I’ll come back to that later).
- Tear-out is hard to deal with. Thankfully this didn’t matter so much for my project as the tear-out wouldn’t be visible. I still need to work on how to approach this myself, but my cleanest holes came from sharp bits (don’t use Temu bits, they are garbage), a steady hand, and going slow. I’ve already half-talked myself into getting a drill press.
Once all the holes were drilled I started filling them with glue and getting the dowels in.
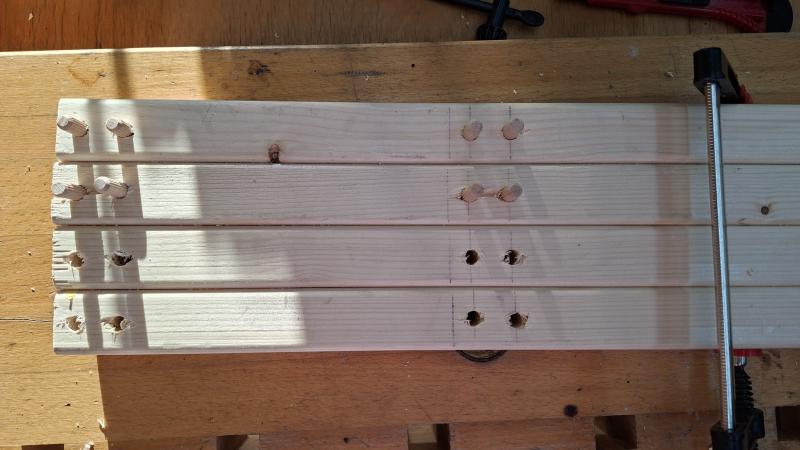
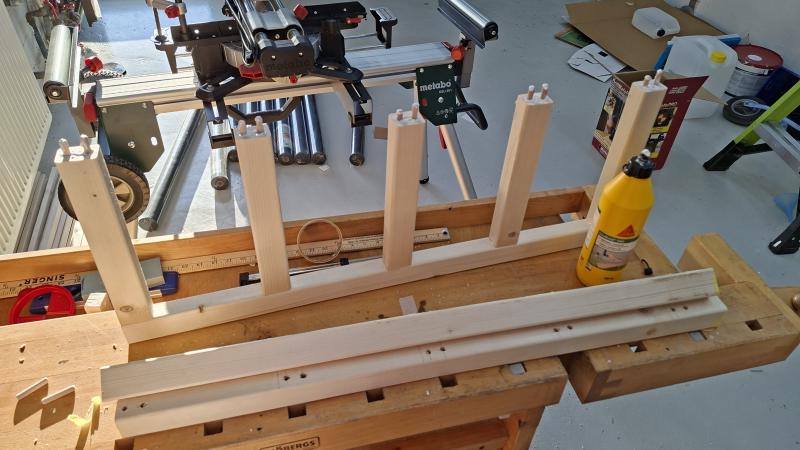
Assembling the pieces was quite easy and took no real time at all. After all the pieces had been glued and pressed together I got everything into a set of clamps to cure.
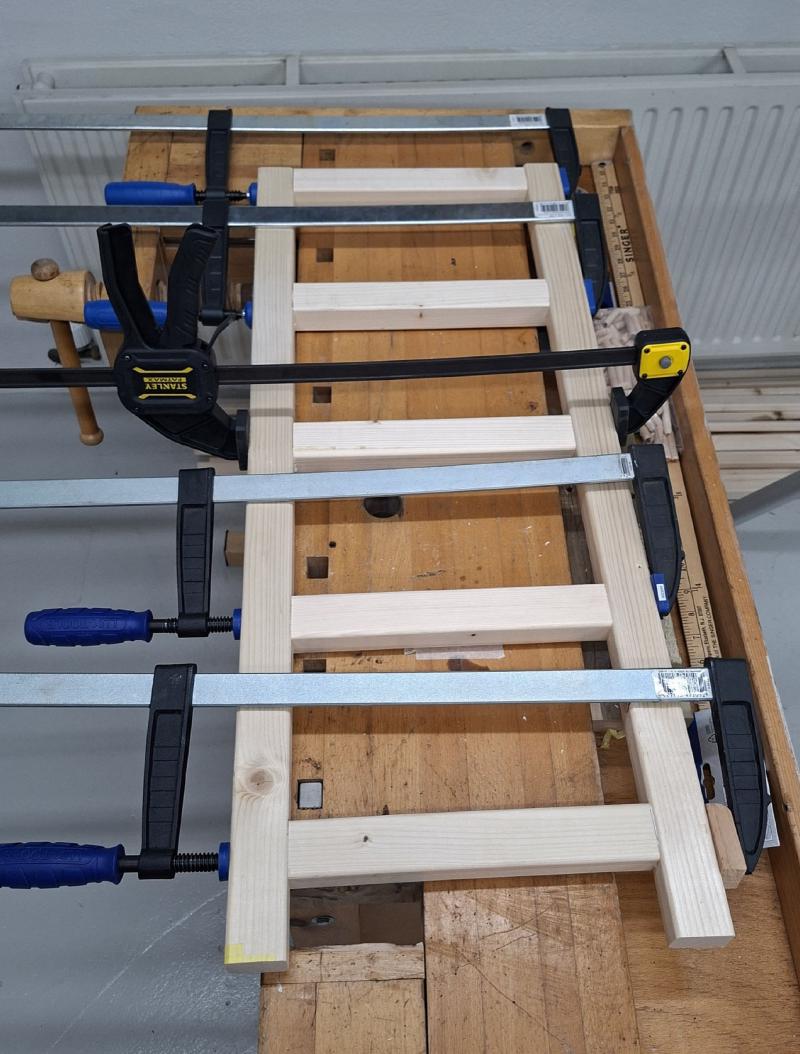
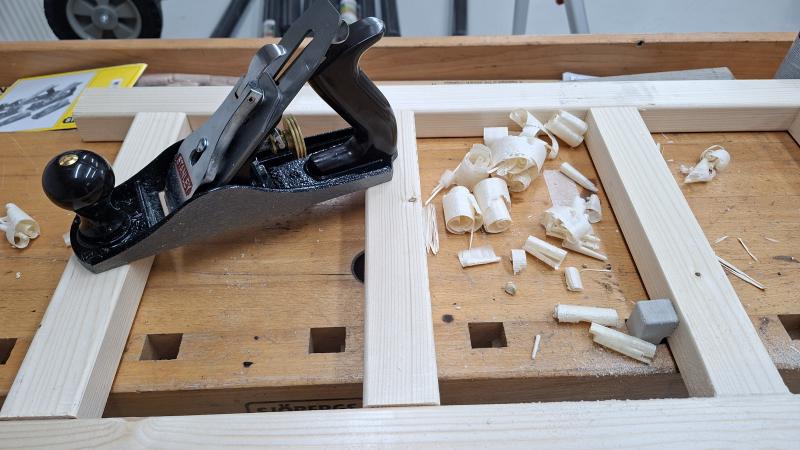
Now, because I hadn’t learned the offset-is-more-important-than-centre lesson, and because I didn’t find exact centre on each board, I needed to do a bit of planing to get the faces of assembled side-pieces level. I had never used a plane before, but I had watched plenty of short-form content on the subject, so I was essentially an expert. It is true what they say in these videos: planes rarely come sharp enough to start using out of the box. After a bit of research and some practice I got the plane fairly sharp and was able to get things into a workable state.
Because some places where the side pieces met were high, the other sides were low. I didn’t think I was going to easily plane my way out of that problem, so later in the project I reached for some wood filler. At the very start I had hoped to stain this project, but after the mistakes piled up I decided I would just use wood filler and paint to cover it all up; the construction lumber didn’t stain very well anyways.
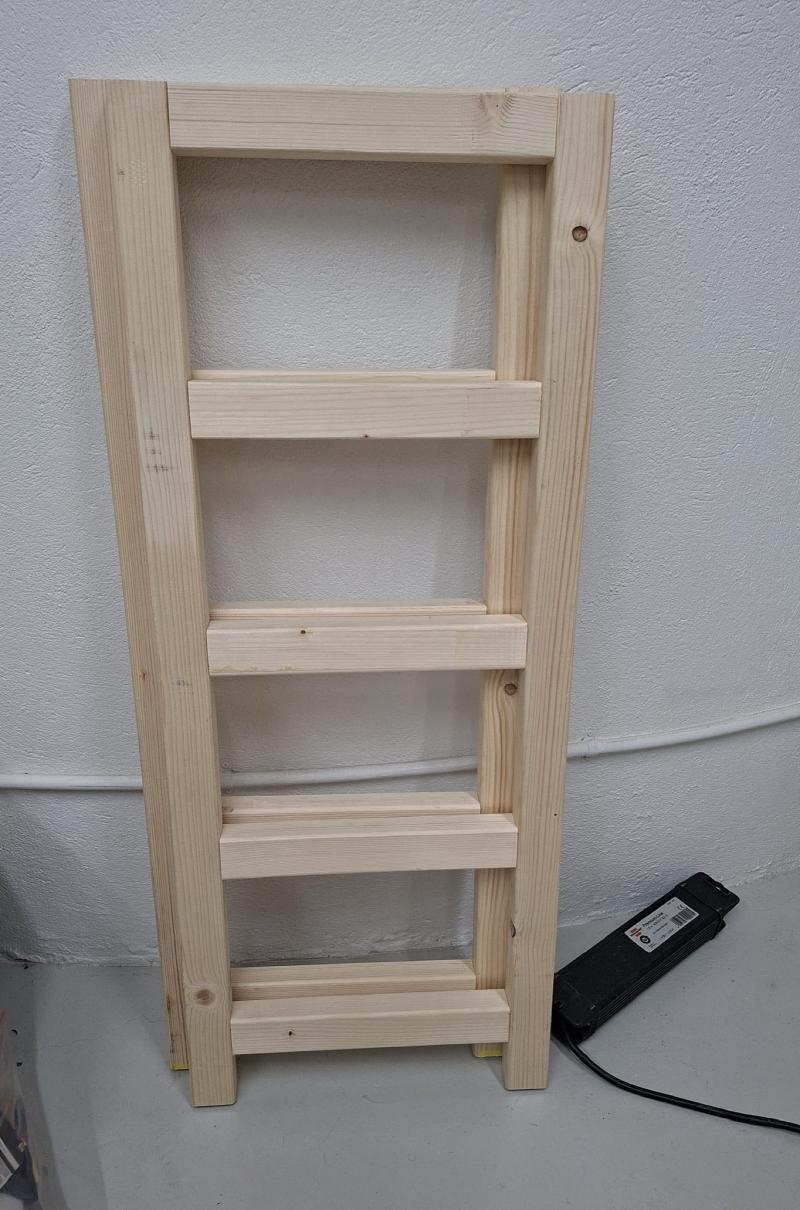
With the sides assembled it was time to get around to drilling the holes in the ends of the slats for the dowels. I thought for a while about how to do this relatively quickly and conducted a few failed experiments. Essentially, due to some of the learned lessons above (twisting, cupping, variations in size), trying to drill holes in the middle of the slats would result in slats that were not very level with each other in the final product.
Here’s where one of my Temu purchases did come in handy. I bought a dowel jig from them that happened to be just the right size to drill two holes in the end of each slat at a constant offset. In general I would say buying from them is very much a “buyer beware” or “you get what you pay for” kind of situation, but for jigs and other hunks of aluminum it’s hard to beat the deals, especially from Iceland - most places charge an arm and a leg to ship something, but Temu sends it free if you buy some minimum amount.
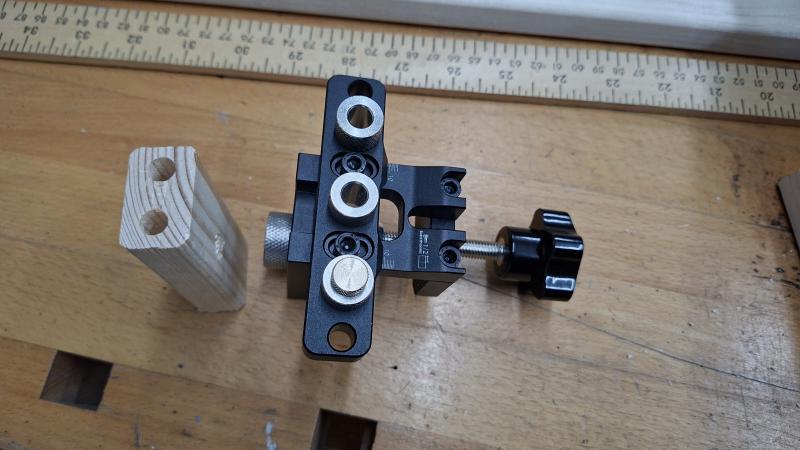
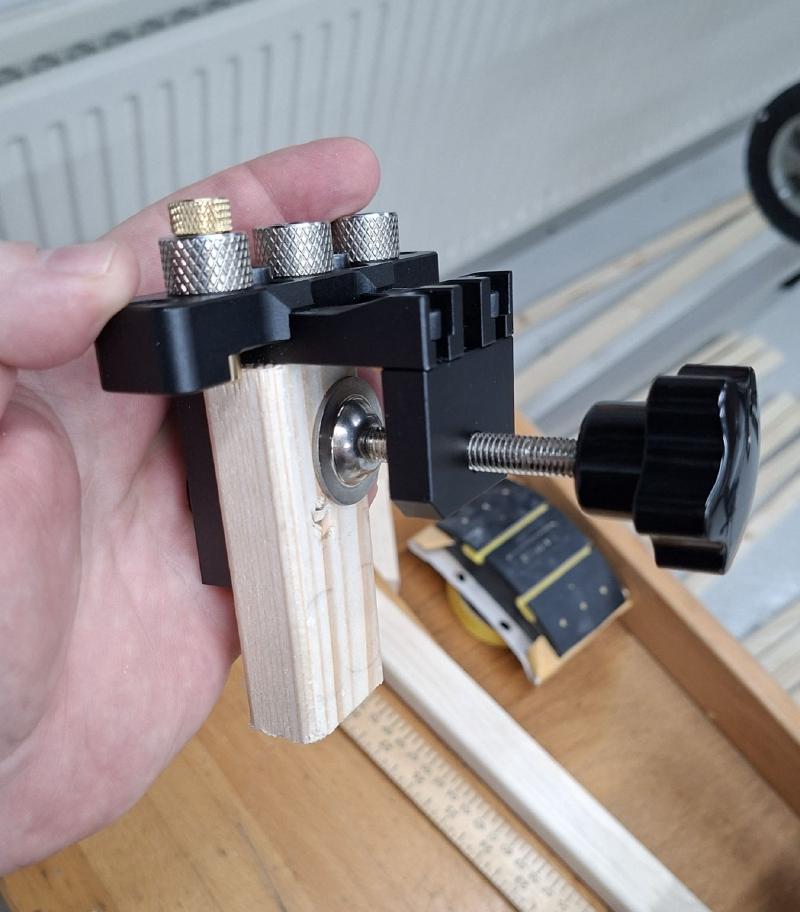
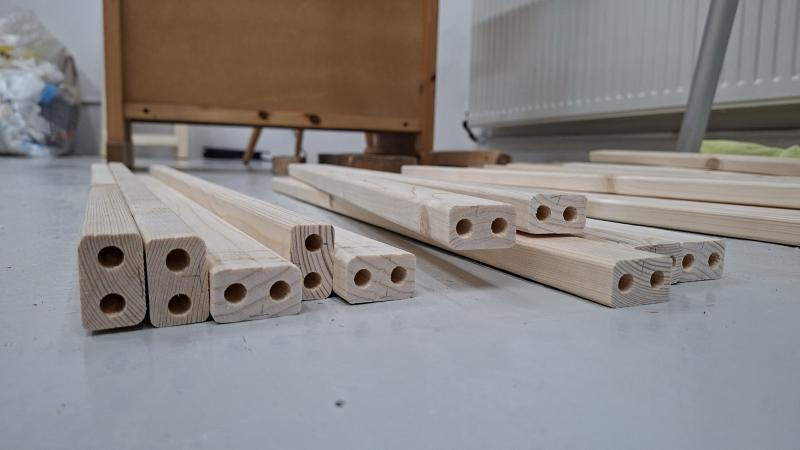
I marked all the slats with what level they belonged to and what position on said level. In hindsight this was probably overkill, but I had made a few mistakes with the dowel jig and I wanted to make sure that the holes I drilled in the side pieces for the slats would really line up.
To determine where to drill the holes for the slats in the side pieces I used dowel positioning pins. They are little metal plugs with a point on the end that fit into dowel holes. One places the positioning pins into the dowel holes, then presses the piece up against the other surface to leave a mark so one knows where to drill.
I also built a simple jig to help me with this. It allowed me to know the top of each slat would be level with all the other slats on the same level. One of the biggest lessons of this whole experience was that jigs are awesome.
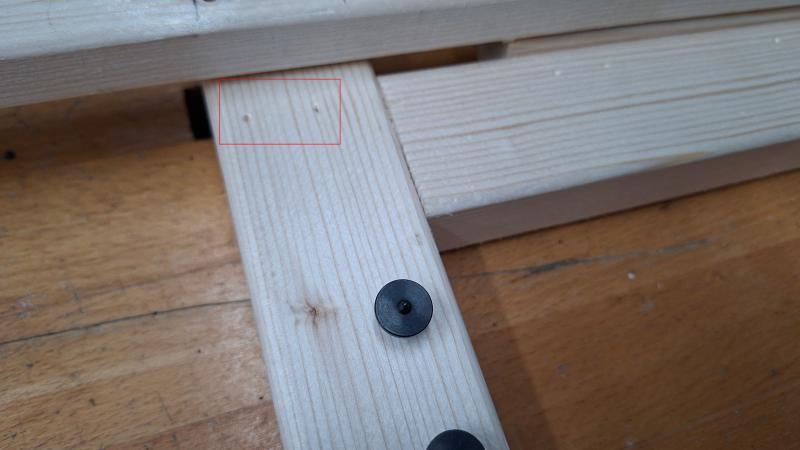
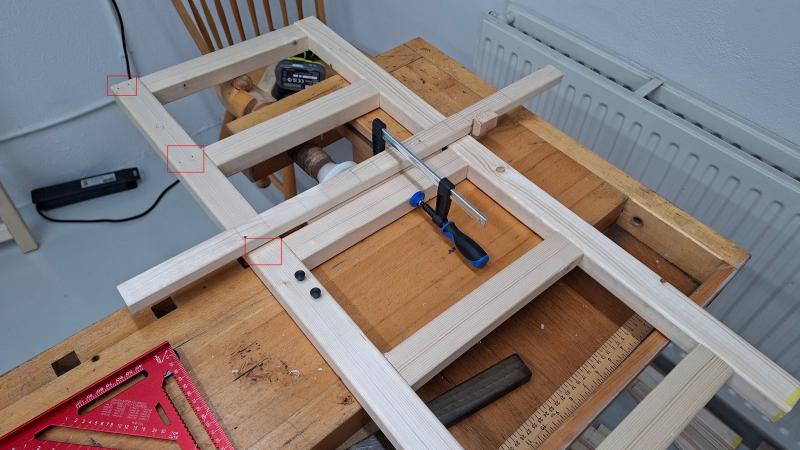
With all the holes marked I used my portable drill guide to drill straight-ish holes (I learned while doing this that my drill has a small wobble). There was a fair bit of tear-out, but again thankfully it would all be hidden. There was also some blowout that I fixed up later with some wood glue and wood filler.
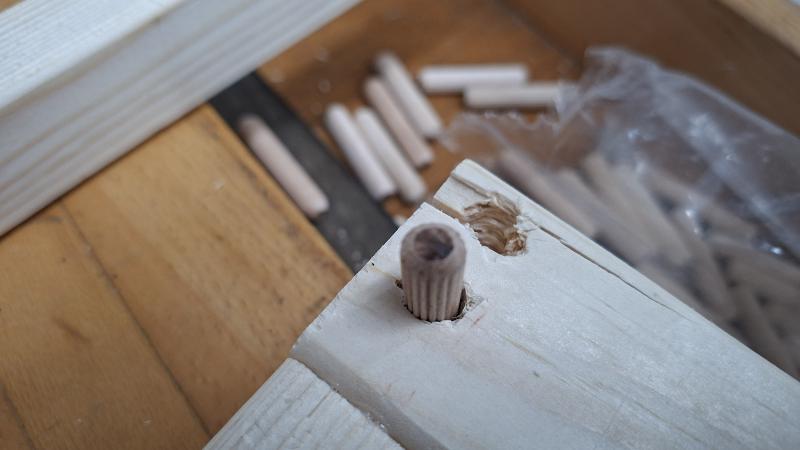
I didn’t capture any photos of the process, but now it was time for a dry fit. This was definitely the hardest part of the assembly (so far). Getting all of the slats onto one side was easy, lining up 25 imperfect slats while pressing the other side on was not. I did get it to work eventually, but it was painful enough that I would not pursue this particular design again, nor would I recommend others try.
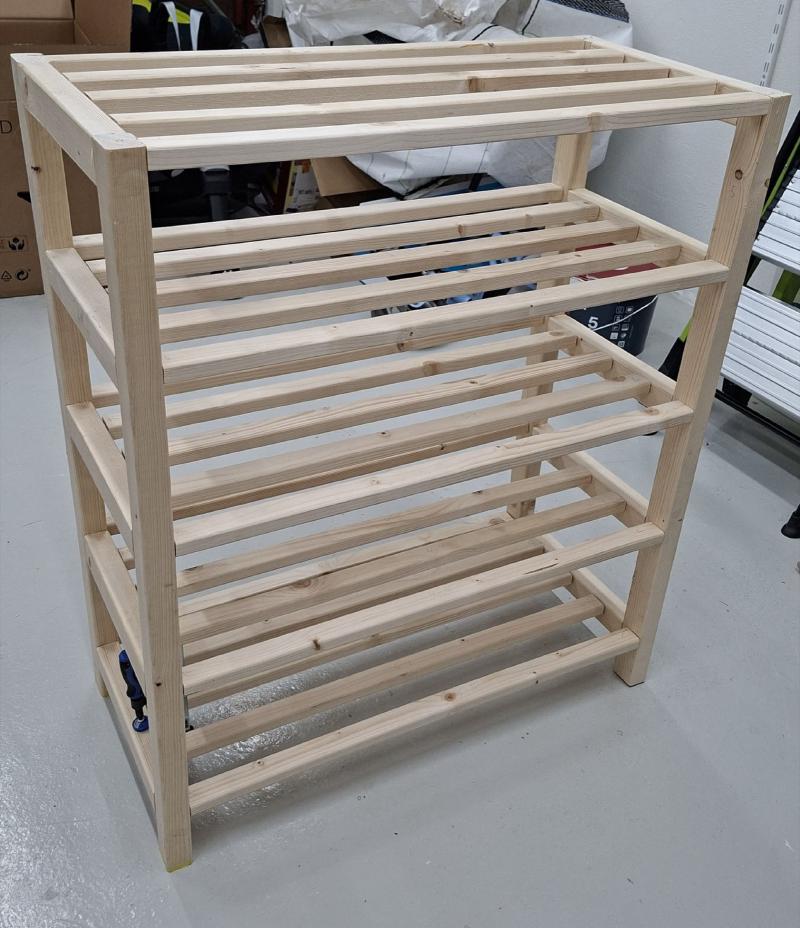
Being able to see the final product, even if just a dry fit, was really quite validating. There was a fair bit of self-doubt after all the mistakes made up to this point. I loved the way it looked though and was really excited to get it finished.
To hide the various imperfections and to prep for paint I used a generous amount of wood filler and gave everything a good sanding with 120 grit sandpaper.
Then came the actual assembly. I had to glue up 100 dowels and try to repeat the miracle process of getting all the slats lined up before the glue started to set. For this I brought in a buddy. And, to give us more time to work, I let the glue sit outside all day to cool off and extend the drying time. Once we had it all together into the clamps it went to sit for a day.
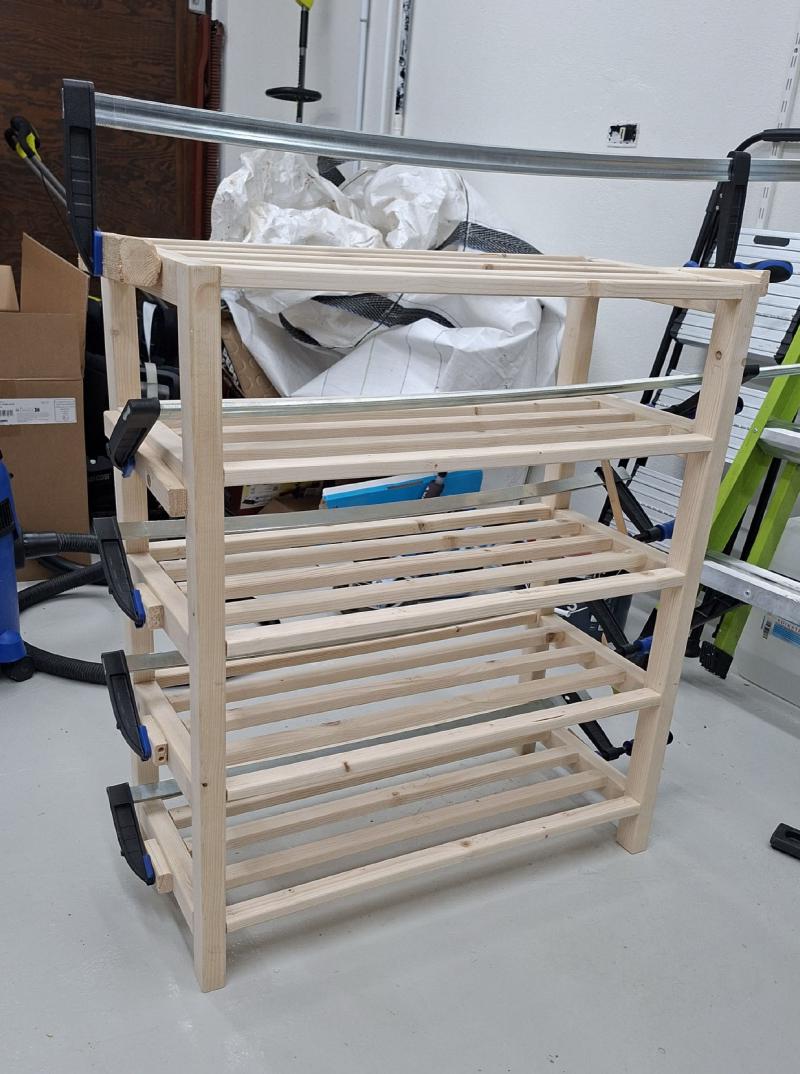
Not pictured are some final bits of wood filler and sanding I did to get it into the best shape I could before painting. And speaking of paint!
Painting#
My original plan for painting this was to buy a DIY-grade paint gun (and learn to use it) so I could get a really nice finish on this. With all the slats I imagine it would have also been a lot less tedious than a brush and a roller. However, after dropping ~12.000ISK (100USD) on primer and paint I decided I didn’t want to spend any more money on this particular project, so a brush and roller it was!
I applied just a single coat of primer and three coats of paint. The surface was pretty rough after the primer so before applying the paint I gave everything a light sanding with 120 grit.
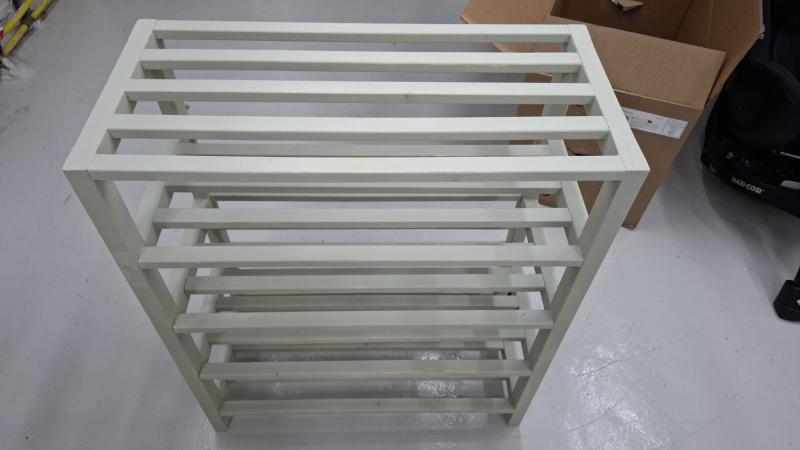
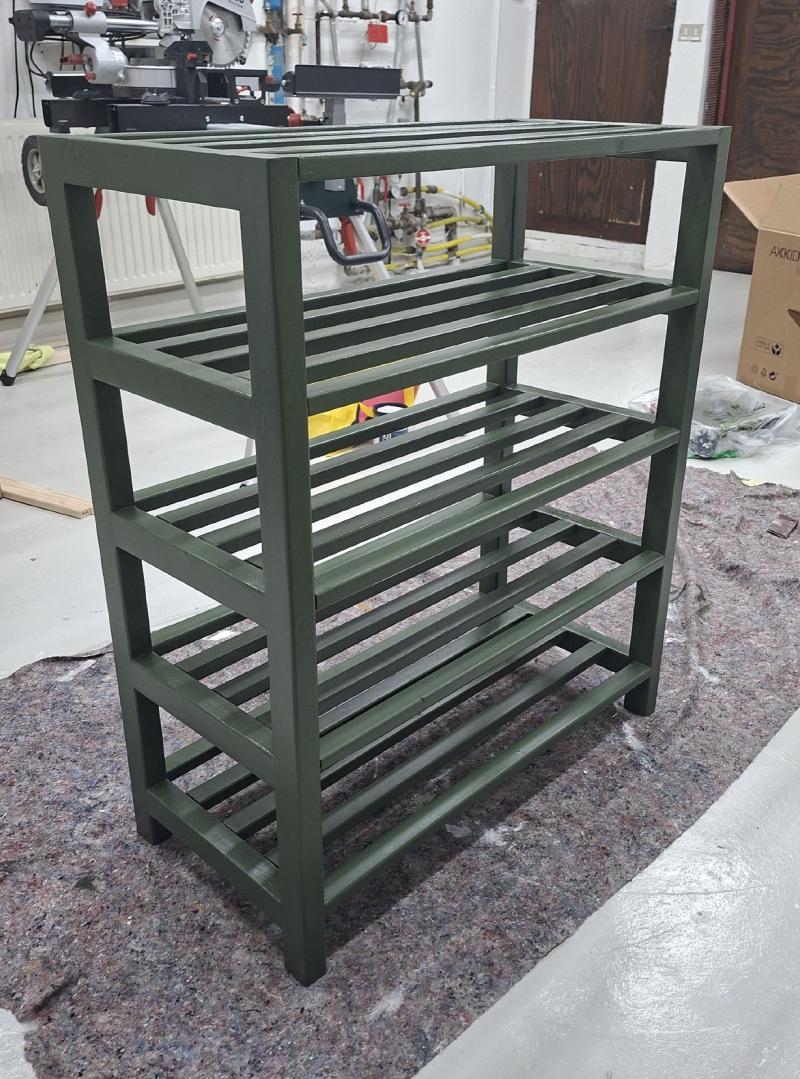
I had hoped the colour I picked out would be a bit more of a mossy green, but I still quite liked the result.
Like most things done with a roller and brush, it was difficult to make sure I had a perfect surface of paint everywhere. The imperfections were generally small and few though, and give me something to improve on next time. Success in my opinion!
Summary#
I made a cute and functional shoe rack out of construction lumber. It was challenging (which was one of the reasons I did it), but I had a lot of fun and learned a number of lessons along the way.
The build cost was not great. Even if you assume I got all of my tools for free, this was still more than one would pay for a ready-made item from Ikea, Jysk, or similar stores. Saving money wasn’t really the point, though. I did it because I like building things, and I wanted a shoe rack for a particular space.
I’m really looking forward to the next build and being able to apply all the lessons I learned.
Here’s one more shot of the final product, with evidence that I have ample room to open the adjacent closet.