
While visiting a friend recently he mentioned that he dropped his tablet and hasn’t been able to get it to turn on since. As it usually goes in such situations, there were no backups to speak of. The tablet was his daily driver and held a bunch of writing and photos that he wanted to recover, if possible. Not being a techy himself, and hesitant to throw hundreds of dollars at repair services that might yield nothing, he was glad when I offered to take a look. I told him that I couldn’t promise anything, and I could very well destroy what might be an entirely repairable tablet. Knowing the risks, he gave me the green light, as it would likely just serve as a brick otherwise.
Symptoms#
The tablet in question is a Samsung Galaxy Tab S7. When I got it home the battery was stone dead. I plugged it in until the charge-level reached 10% and then tried to turn it on. It was stuck in a boot loop: I’d see the Samsung splash screen for a few seconds, then screen would show all black and flicker (but not turn off), and finally after ten seconds or so the system would reboot.
I wasn’t really sure what was wrong, so I thought I’d do a visual inspection.
Initial Inspection#
I opened up the tablet to take a look. It wasn’t a particularly hard task and there are plenty of videos online that demonstrate it. Briefly, one uses a blowdryer to heat up the edges of the screen so the adhesive loosens, and then a suction cup and a plastic wedge to separate the screen from the body.
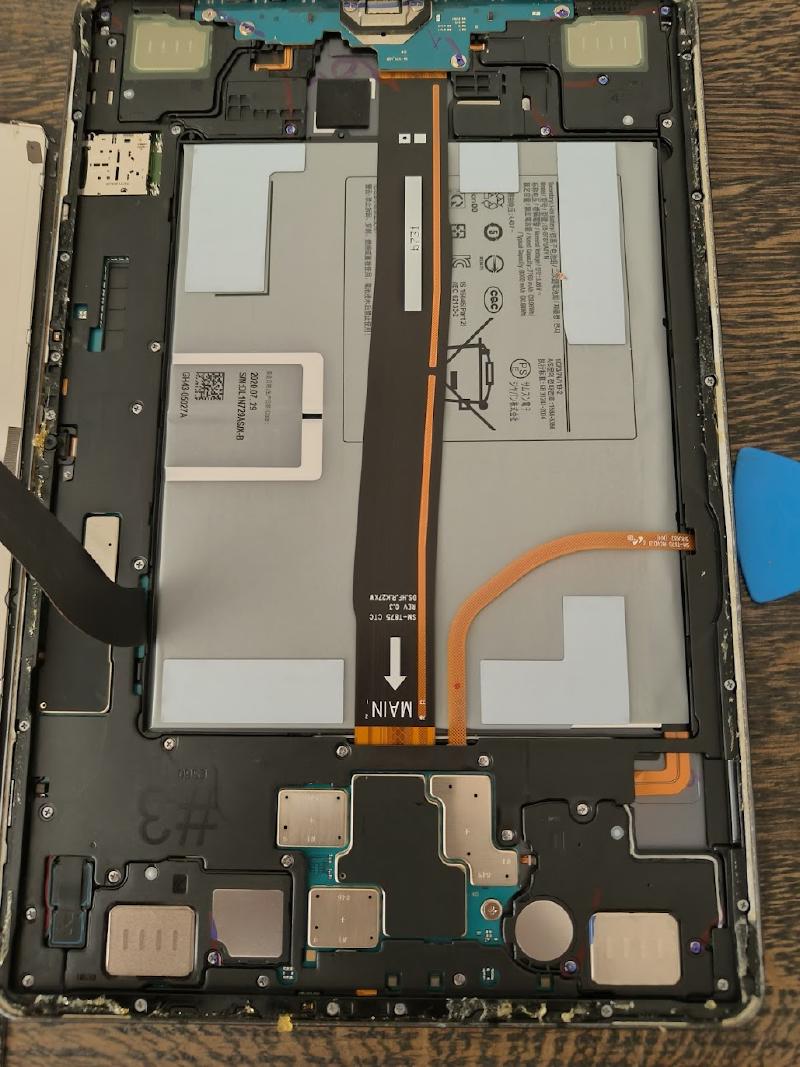
I could not see anything immediately wrong with the tablet once I had it open, but that wasn’t super surprising either. I didn’t have much to go on, so the next thing I thought I’d try was to disconnect the battery and see if I could get the tablet to boot just using an external power source.
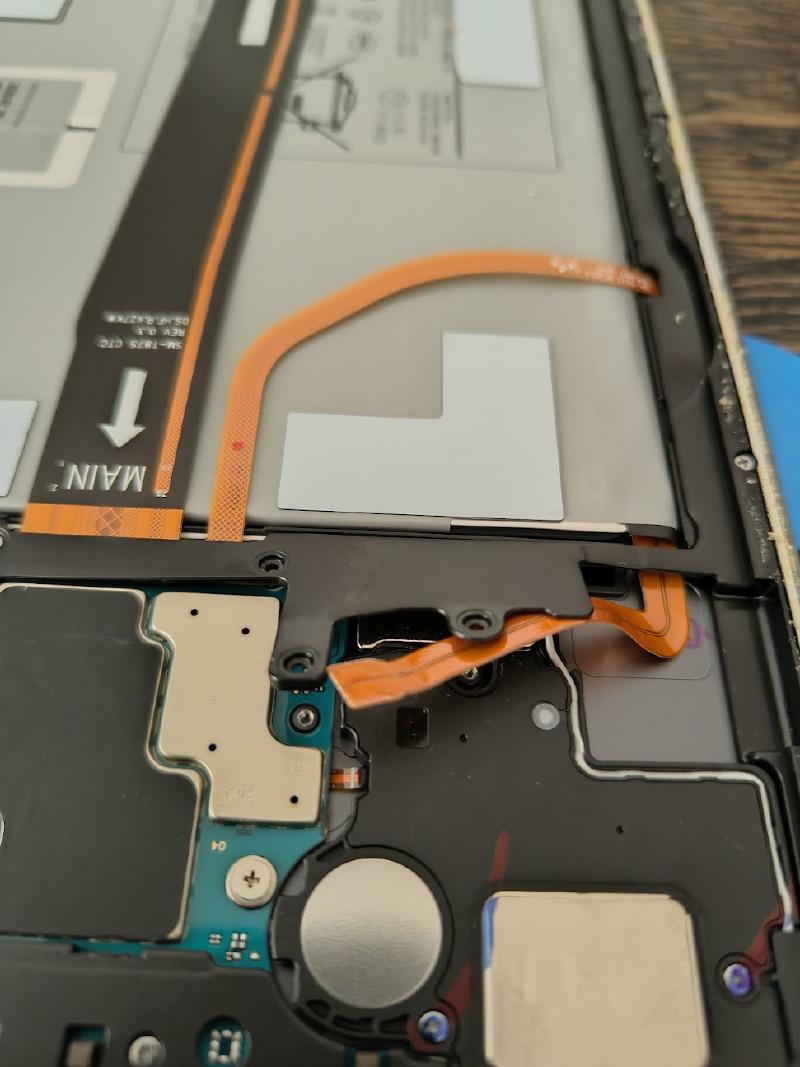
At this point I was being lazy and trying to avoid removing all the plastic shielding. I was able to disconnect the ribbon cable, plugin an external power source, and still the same boot loop. I did a bit of research and the internet seemed to suggest that the absence of a battery would cause a boot loop, so what I had done so far had unfortunately revealed no new information.
Battery Bypass#
The next thing I wanted to try was bypassing the battery altogether. Given the system apparently needed to have a working battery, but I had no replacement battery to play with, I opted to harvest the small PCB the battery was connected to and drive it with a bench power supply.
To start on this I needed to stop being lazy and remove all the plastic shielding. This means I got to break out the bit set (ooooo aaaah).
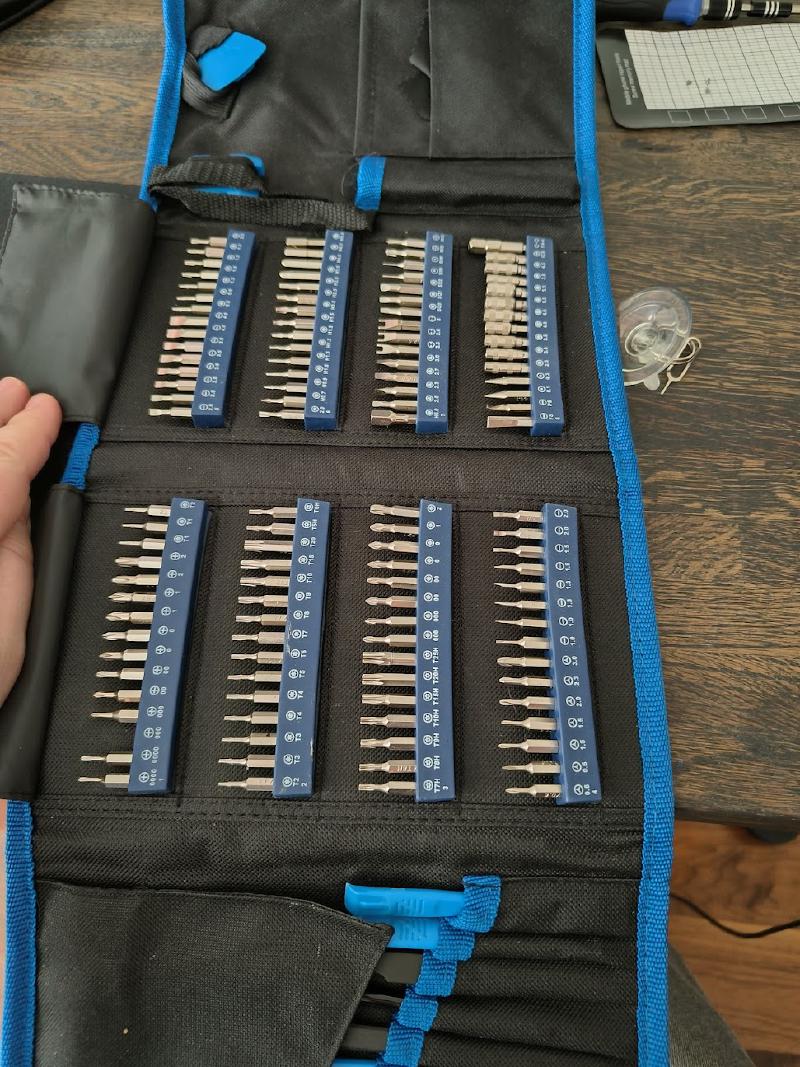
After removing something like thirty or forty tiny screws I was at the point I could pull the battery out. I used the blowdryer again to loosen the adhesive and I pried it out with the help of some plastic wedges. Using my skills as a professional dumbass and a pair of scissors, I was able to separate the battery from its PCB (which has the ribbon cable that attached to the motherboard).
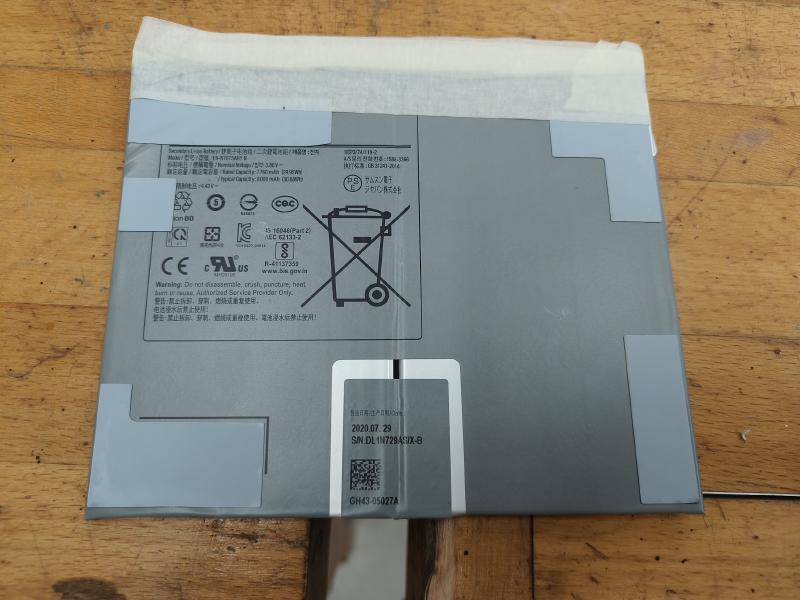
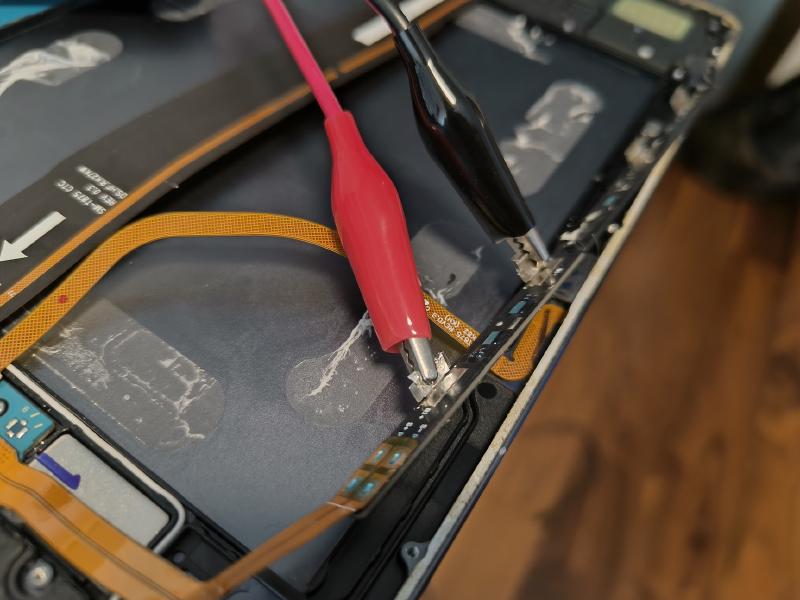
In the second photo above you can see where the battery was glued down, and alligator clips running from a bench power supply hooked up to the contacts where the battery was previously connected.
With that all done I set the bench power supply to 3.8 volts and tried to get the tablet to start.
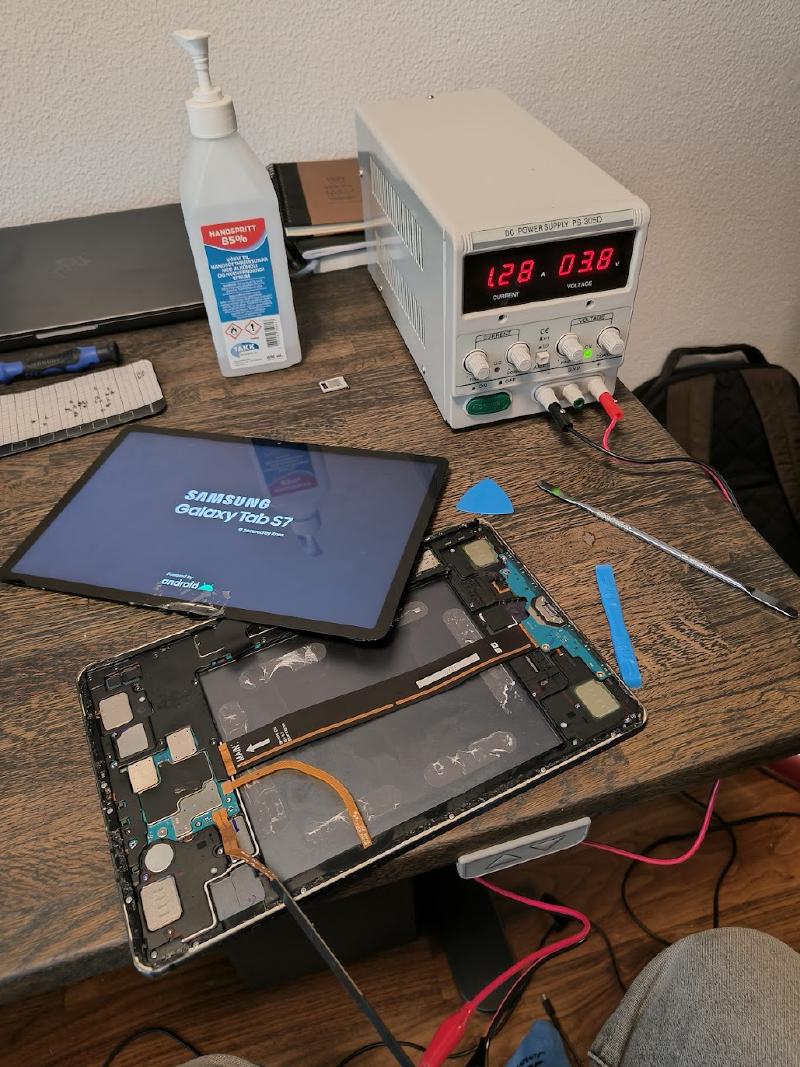
I was now getting a bit further. Sometimes when I would turn the tablet on I could get to the login screen, but most times not (just the same old boot loop instead). So it looks like the battery was an issue, but not the only issue.
On the few occasions I could actually get to the login screen it would freeze and become unresponsive within ten or so seconds. I noticed that I tended to get further through the startup process when I left the tablet alone for a few hours. After thinking about it for a while I wondered if the drop had caused a fracture in a solder joint, and the heat generated while the tablet was running caused just enough expansion to cause the system to fail shortly after startup.
We now move onto the part where in hindsight I got much braver than I probably should have.
The Heat Gun#
I do not own a reflow station nor a small toaster oven for baking PCBs. I’d like such a small oven, but they are weirdly difficult to come by in Iceland, and I’ve never needed one badly enough that the shipping would be worth it. I do own a heat gun though!
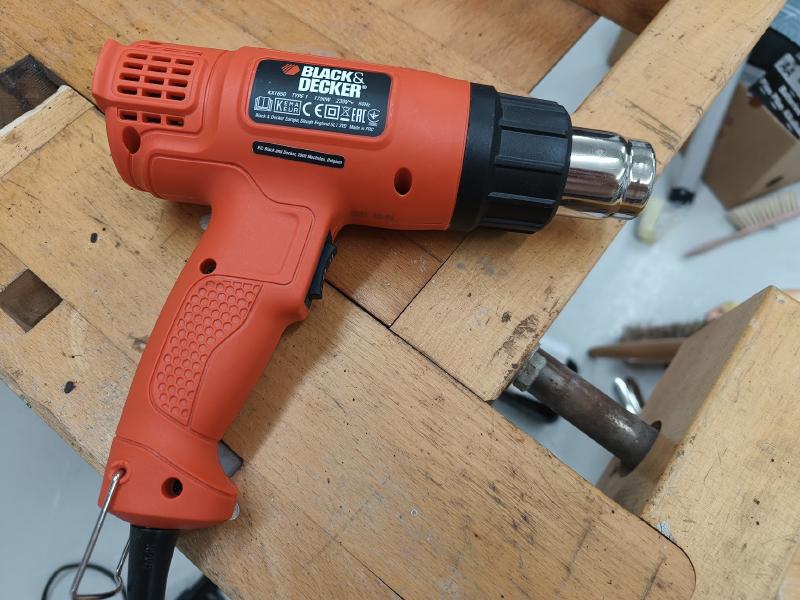
This was another moment where I truly shined as a professional dumbass. I really do not recommend anyone try this, but I was out of ideas and the owner of the tablet had already written it off, so there was little to lose.
The plan was to heat up the SoC enough that any solder joints would heal, but not so hot as to destroy the chip. To accomplish this I used the very scientific method of applying heat for a few seconds, then removing it for a few, and repeating until I was satisfied the board had gotten hot enough. I did however try to protect the rest of the board with some aluminum foil.
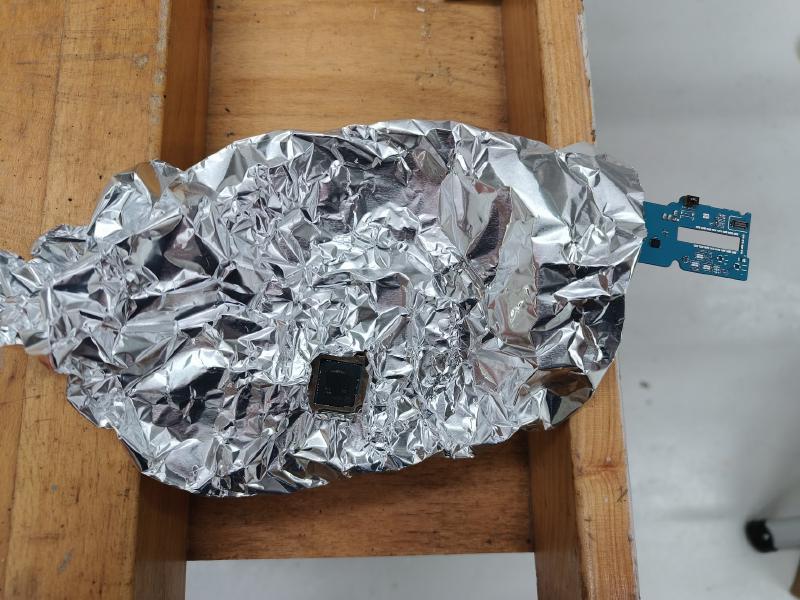
With the SoC cooked medium-rare, I re-installed the tablet’s motherboard and tried to boot the system again.
We’re In#
To my amazement, the tablet actually booted and did not freeze.
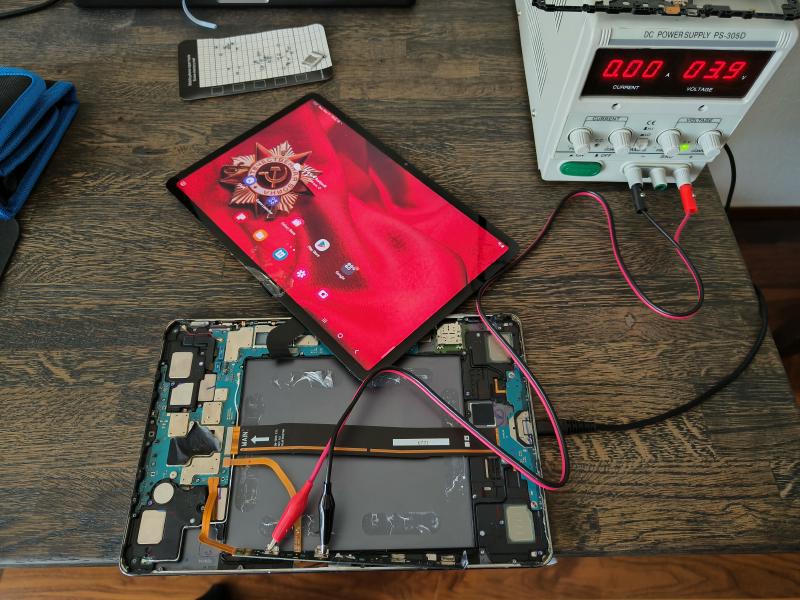
I really wanted to do the hacker thing and exclaim “I’m in!”, but after seeing the wallpaper all I could think was “we’re in”.
From this point it was pretty simple to get his data off. In the past I had always used Windows or Linux to pull data off my android devices - the file managers worked with android out of the box. This time I was using MacOS and so I gave OpenMTP a try. It did the trick, but it sure would be nice if Finder just worked with Android!
For those that got this far, thanks for reading! This was a fun learning experience where I got to see being a bit braver-than-usual pay off.
Also, please don’t use your heat gun for this. I got lucky - you are more likely than not to melt whatever you’re pointing it at.